


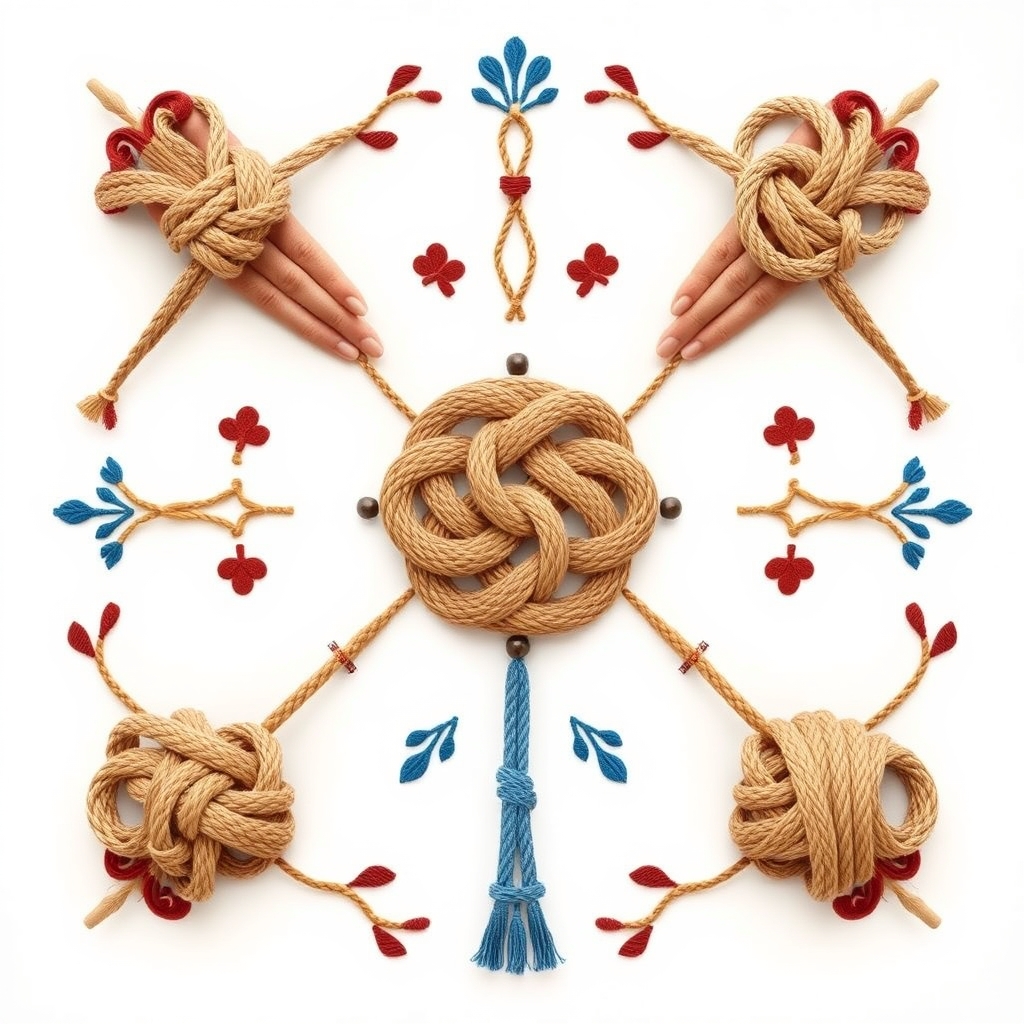
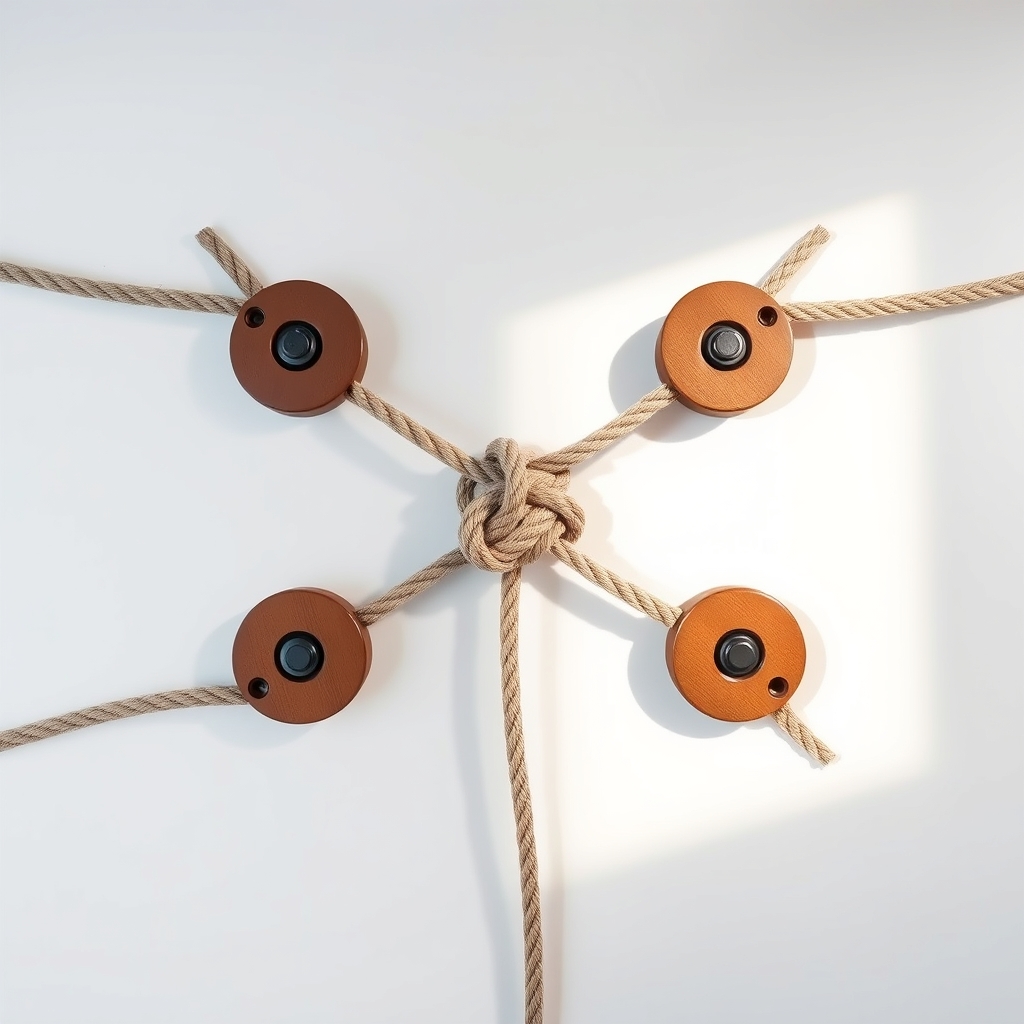
There’s something quietly powerful about knowing how to tie a good knot—a skill as old as the hills and just as steady. For anyone who steps into the wild, knots become more than twists of rope; they’re trust in your hands when the weather turns, your anchor when the path shifts, and the silent strength that holds your gear close.
Whether you’re setting up camp beneath a canopy of stars, pulling a boat ashore, or helping a friend out of a sticky spot, the right knot can mean the difference between ease and trouble. It’s not just about keeping things tied; it’s about safety, reliability, and making every bit of rope count when it matters most.
You’ll find knots that create secure loops, join ropes of all sizes, and tighten tight enough to hold fast through wind and strain. Some are swift and simple, ready to be tied before the dew even settles on morning grass. Others are sturdy and complex, built for life-saving roles or heavy loads.
In this guide, we’ll walk through these essential knots with the kind of clear, no-nonsense steps that let you learn by doing—not just reading. Because knowing your knots means more than memorizing names; it means rolling up your sleeves, feeling the rope between your fingers, and trusting that you’re ready for whatever the trail or river throws your way.
The Bowline Knot
There’s a warm comfort in knowing a knot that won’t let you down, and the bowline is just that—a trusty friend in the knot-tying world. Picture this: you need a strong loop at the end of your rope, one that holds firm under pressure but still lets go when you ask it to. The bowline fits that bill perfectly.
How to Tie the Bowline
Start by making a small loop near the end of your rope—the kind you’d make if you were crossing a little stream on stepping stones. Now, take the rope’s working end and pass it up through that loop from under. Imagine the rope is a dog coming out of its cozy doghouse. Next, wrap the working end around the standing part of the rope—the big tree trunk—and bring it back down through the loop, the dog’s house. Pull it snug, and you’ve formed a neat loop that won’t slip, no matter the load.
Practical Uses
Out on the water, sailors love the bowline for fastening sails or tying dock lines—it’s dependable when the wind whips up. On the trail or around the campfire, it makes a secure loop for attaching gear or hoisting food bags out of reach from curious critters. In emergencies, rescuers trust it for creating rescue loops because it holds steady without jamming, making it simple to untie after the stress of a tough job.
Quick Facts and Safety Tips
The bowline has been around for centuries, earning its place as a symbol of reliability and safety. It won’t slip under tension, and importantly, it’s easy to untie even after bearing a heavy load—something many knots can’t claim. Just remember, if you’re working with slippery or synthetic ropes, adding a backup knot to the tail end never hurts. For anyone wanting to take a deeper dive, there are plenty of simple guides and videos that bring this knot to life—like a friendly neighbor showing you how it’s done.
The Sheet Bend Knot
How to Tie the Sheet Bend
Picture this: you’ve got two ropes that need joining—maybe a thick, sturdy cord and a thinner line pulled from your pack. The sheet bend is your go-to here. Start by forming a loose bight (a U-shaped bend) in the thicker rope. Then, take the end of the thinner rope, pass it up through that bight, wrap it around both parts of the thicker rope, and tuck it back under itself. Pull snug, and you’ve got a knot that’s ready to hold.
If you’re dealing with slippery ropes, or ropes of very different thicknesses, give the sheet bend an extra wrap—sometimes called a double sheet bend—to keep things even more secure.
Practical Uses
Out in the wild, the sheet bend shines when ropes don’t match. Say you need to extend your climbing rope with a softer cord, or fix a broken guy line on your tent where your backup rope is thinner. This knot’s your reliable friend for joining ropes quickly without fuss.
It’s also handy if you’re hauling gear or setting up temporary shelters where ropes of different ages or materials need to work together. Think of the sheet bend as a simple handshake between two ropes, trusting each other to get the job done.
Quick Facts and Comparison
Compared to the square knot, which likes ropes that are the same size and material, the sheet bend laughs at differences. It holds tight under uneven tension and won’t slip unexpectedly. That’s why outdoor folks favor it over the square knot for joining ropes that don’t look alike.
Remember, though, like any knot, the sheet bend needs to be dressed neatly—no crossing lines or loose loops—to work its magic. Treat it right, and it will keep your gear tied up without stealing the spotlight.

The Figure Eight Knot
There’s something about the figure eight knot—it’s simple, solid, and honest. Imagine grabbing a length of rope and doubling it back on itself, then weaving it through like drawing a big “8.” That twist creates a stopper knot that’s tough to miss and hard to slip.
How to Tie the Figure Eight:
Start by making a loop near the end of your rope. Then, take the working end, pass it around the standing part, and thread it back through the loop you just made. Pull it tight, and you’ll see that classic figure-eight shape form. It’s straightforward and quick once you get the hang of it—perfect for wearing-in during a quiet afternoon under the trees.
Practical Uses:
Climbers trust the figure eight knot for good reason. It’s their go-to stopper knot, preventing ropes from running through belay devices or slipping out of harnesses. Rescue teams lean on its reliability when pulling someone to safety because it won’t suddenly give way. Around the campfire, it’s handy for stopping a rope from fraying or securing gear lines.
Quick Facts:
What makes the figure eight shine is its blend of strength and ease of inspection. When you look at it, you can quickly tell if it’s tied right—a simple glance can mean the difference between safe and shaky. It’s a knot with no fuss and plenty of muscle, the kind you’d want quietly backing you up when the trail gets steep or the night grows cold.
So, in this small twist in your rope lies a knot that invites you to slow down, trust your hands, and know you’re set for whatever the outdoors throws your way.
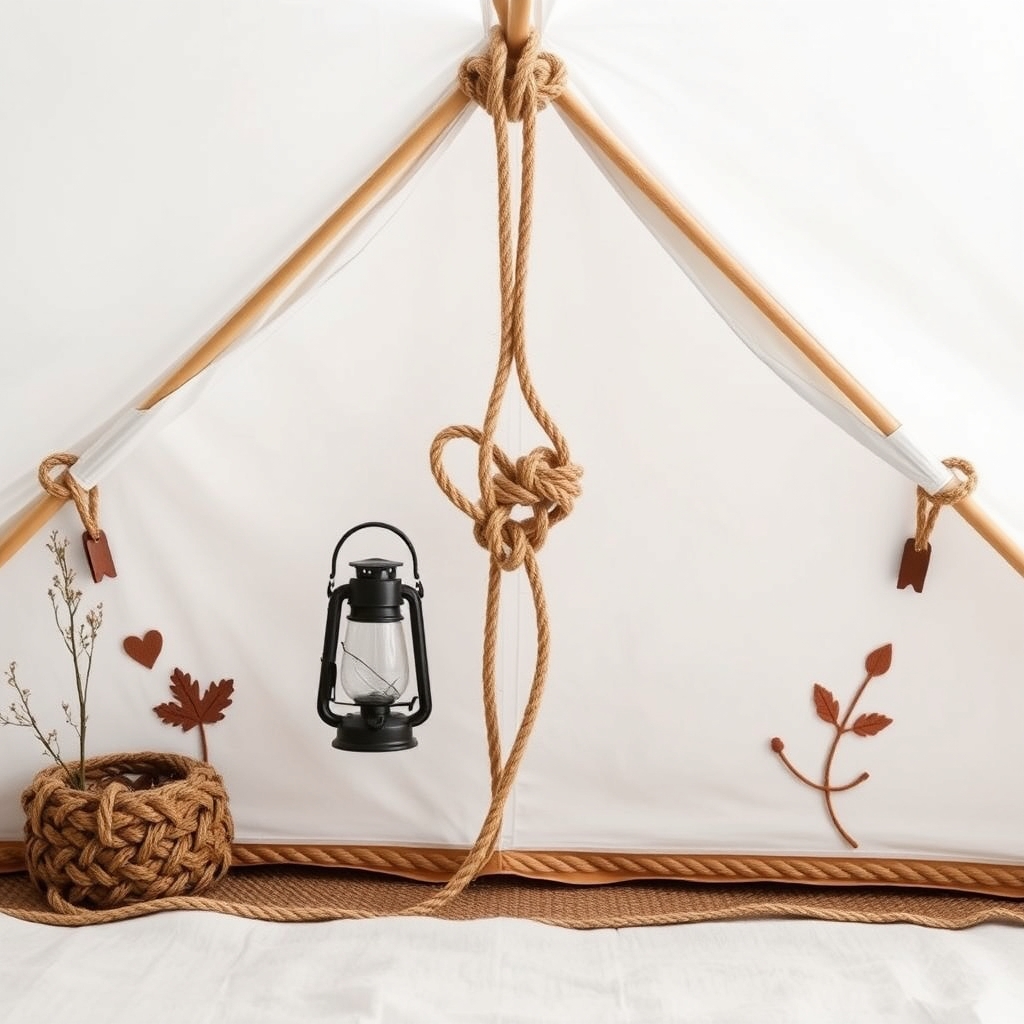
The Clove Hitch
There’s a certain simplicity to the clove hitch that makes it a favorite—quick to tie, easy to adjust, and ready in a pinch. Imagine you’re leaning against a wooden post, the pine-scented breeze brushing past, and you need to fasten your pack or secure a tarp. The clove hitch steps up like an old friend—no fuss, just steady.
How to Tie the Clove Hitch
- Start by wrapping your rope once around a post, tree, or whatever sturdy anchor you have.
- Cross the rope over itself so it forms an “X” shape on the front of the post.
- Wrap the rope around the post again, just below the first wrap.
- Tuck the working end under the last wrap—the part closest to the post.
- Pull both ends tight. The knot should cinch snugly yet slide a little when needed.
It’s a knot that feels as natural as an old worn path, offering you a reliable way to anchor without the need to tie yourself in knots over complex steps.
Practical Uses
Out in the woods or on a boat, the clove hitch is your trusty go-to. Campers reach for it to lash poles together for shelters, while sailors tie fenders to railings with this humble knot. It’s also perfect when you need to attach something temporarily—say, hanging a lantern off a branch for the night or fastening a rope to a post before tightening a load.
But keep in mind: the clove hitch likes company. When put under heavy or sudden load, it can slip. That’s why seasoned outdoorsfolk often back it up with an extra knot or two, like a half hitch to keep it from coming undone when the pressure builds.
Quick Facts and Safety Considerations
- Ties in seconds, adjusts easily without untying entirely.
- Not the best choice for critical or heavy loads on its own—think of it as a handy helper, not your all-in-one hero.
- Perfect for temporary holds, lashing, and situations where speed matters.
- Common in sailing and trucking; its popularity is a testament to its usefulness.
So, next time you find yourself needing a quick, adjustable tie, reach for the clove hitch. It’s as straightforward as summer dusk and just as dependable—good enough to know, easy enough to master.
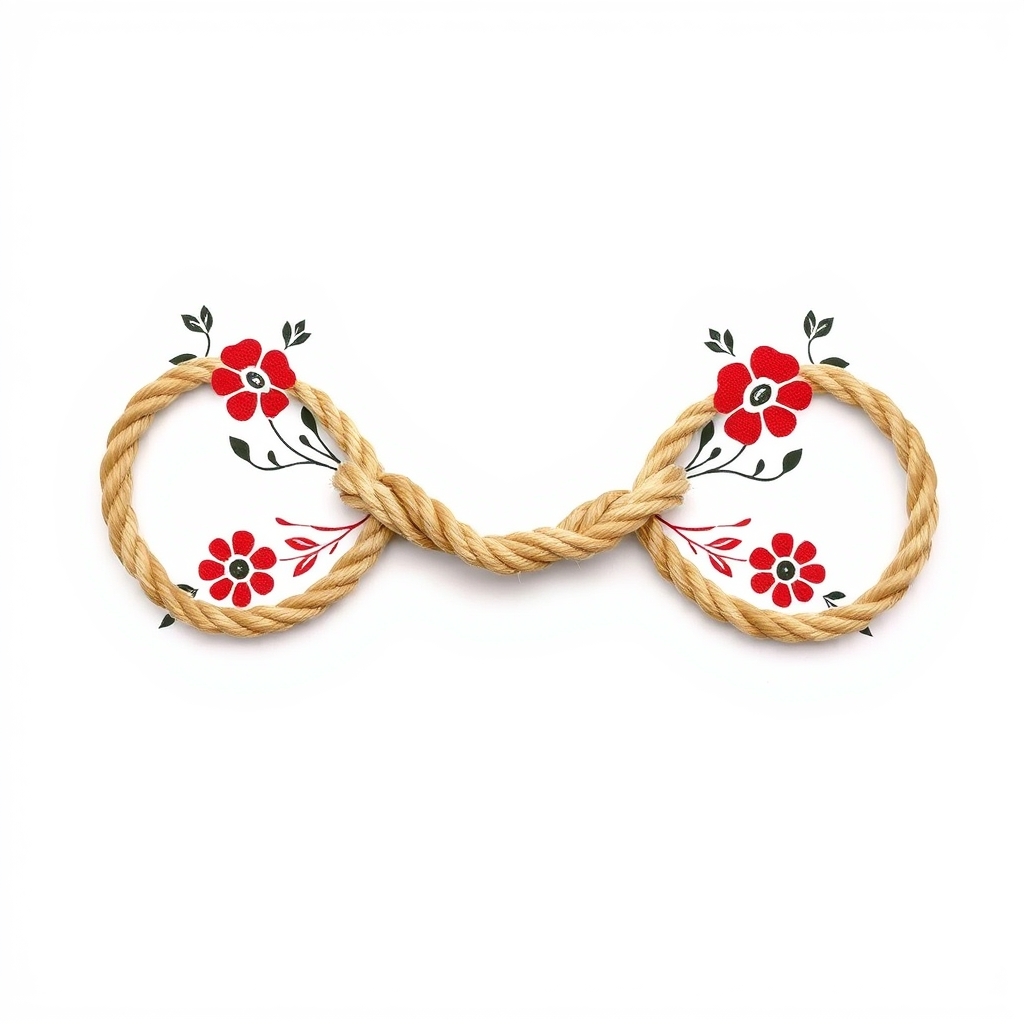
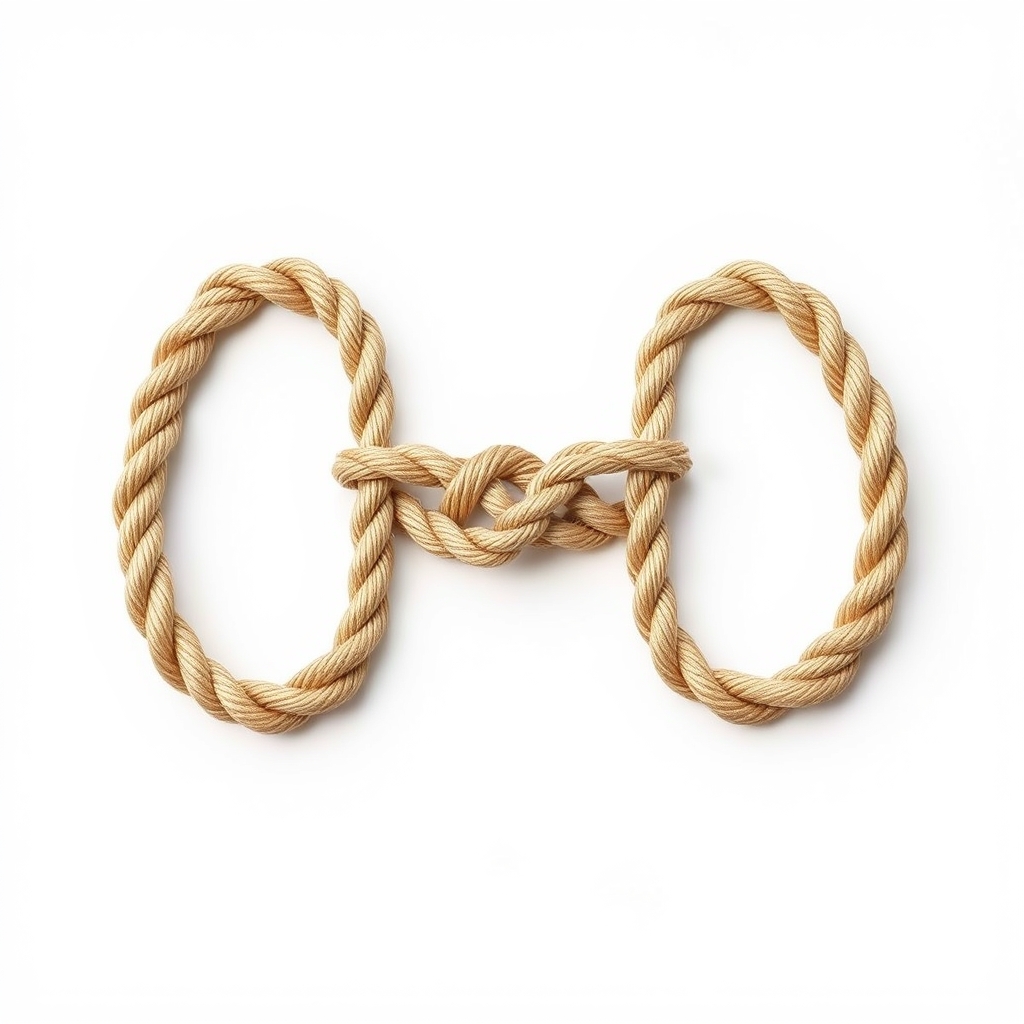
The Square Knot (Reef Knot)
How to Tie the Square Knot
Start by holding one rope end in each hand. Cross the right end over the left, then tuck it under — just like beginning to tie your shoelaces. Next, take the same end now on the left and cross it over the right end, then tuck it under again. Pull both ends tight simultaneously. The key here is symmetry: the knot should lie flat, with the ends coming out parallel to their respective ropes. If it bunches up or twists, chances are you tied a different knot by mistake.
Think of it as a simple “right over left, left over right” dance — repeated just once — that creates a neat, balanced join.
Practical Uses
The square knot shines when you need a quick, easy way to join two ropes of roughly equal thickness for light-duty tasks. It’s your go-to for bundling firewood, tying up a package, or securing a roll of blankets before setting out on a hiking trip. It’s not meant to haul a heavy load, but when you want to keep things snug and tidy for a short spell, it does the trick nicely.
Folks have packed their gear or tied off their bundles with this knot for generations, often without thinking twice, because it’s just that handy.
Quick Facts and Warnings
While the square knot is beloved for its simplicity and speed, it’s important to know its limits. It’s not a knot you want holding your life on a climb or preventing a heavy load from slipping away. Under strain or when tied with ropes of different materials, it can slip or come undone unexpectedly.
Beware the granny knot — a common cousin and a knotting faux pas. The granny knot looks almost identical but twists in a way that makes it far less secure. A granny knot creeps in when the second crossing isn’t mirrored properly. It’s the knot equivalent of a shoe untied mid-hike.
If your task demands more security, consider using a sheet bend for joining ropes or a double fisherman’s knot for critical connections. Remember: the square knot is best for light, temporary holds, like an old friend’s gentle handshake rather than a firm grip.
Tying the square knot right feels like coming home: simple, reliable, but with a respect for when to call on stronger aids. It’s a humble knot with a long history — useful and good, as long as you treat it for what it is.
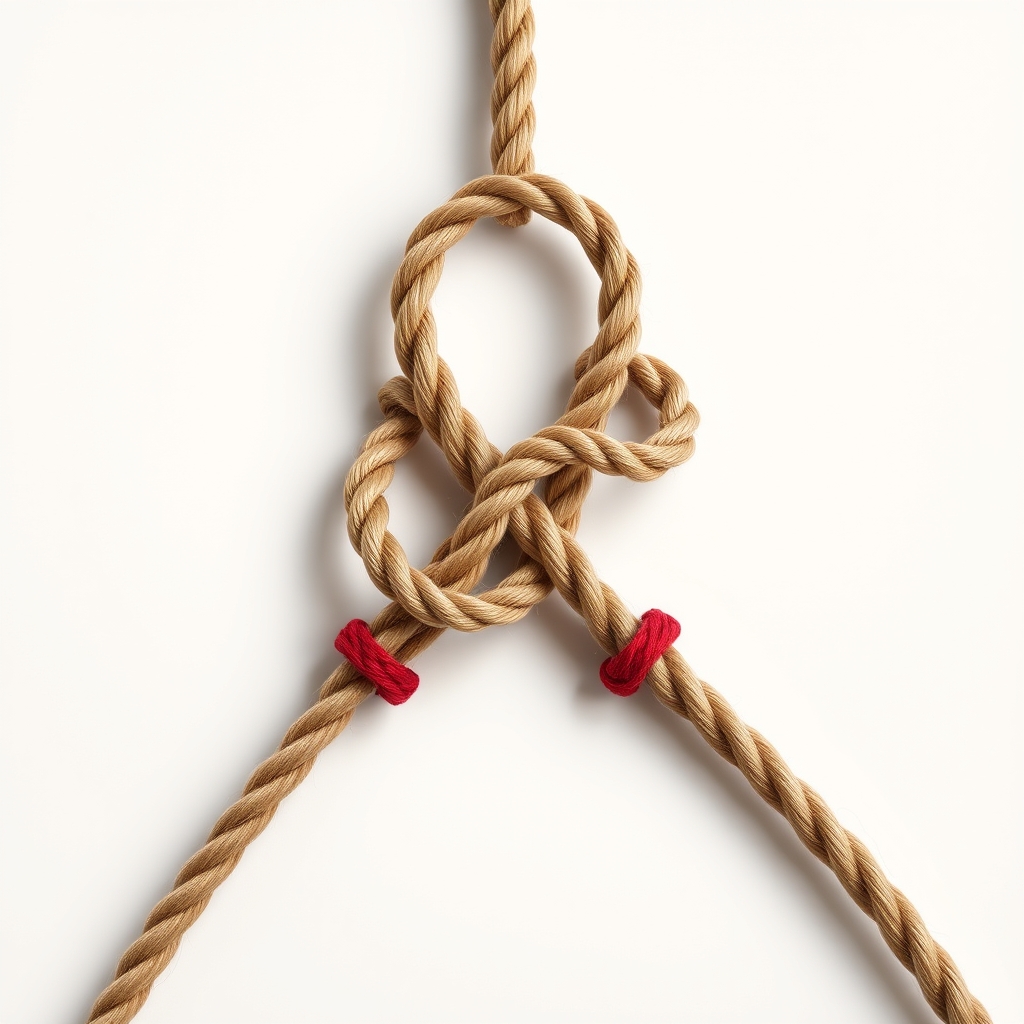
The Constrictor Knot
How to Tie the Constrictor Knot
Imagine you need a knot that grips tight, like it’s holding on for dear life—and won’t let go until you say so. That’s the constrictor knot. Start by wrapping your rope around the object you want to bind, crossing the working end over the standing part to form an X. Then, tuck the working end under the X, pulling it snug. Think of it like giving your bundle one last, firm hug that won’t slip away.
It’s a bit fiddly at first, but with a few tries, you’ll find the rhythm—wrapping, crossing, tucking, and pulling tight until the knot locks itself in place, like a secret handshake between you and the rope.
Practical Uses
Out here, it’s your go-to when you need a knot that means business. Whether you’re bundling firewood, securing a tarp against a stubborn breeze, or holding gear fast for the long haul, the constrictor knot clamps down with a quiet confidence. It’s perfect for binding awkward shapes—think of it like that trusty clamp in your toolbox but made of rope.
When you tie a constrictor, you can trust it won’t loosen on its own, even under strain or vibration. So next time the wind starts picking at your tent or you’re packing up gear for the trail, remember this knot will keep things tight without fuss.
Quick Facts and Differences
The constrictor knot holds tighter than most, including the granny knot—so tight, in fact, it can be tough to untie once under load. It’s less about quick swaps and more about knowing you’ve got a steadfast grip. If you need something that won’t mess around, this knot is your quiet champion.
In the landscape of knots, it sits near the square and granny, but unlike them, it refuses to budge or slip. Just like a good friend who holds on when things get rough, the constrictor knot stays firm, making it ideal for those moments when you need solid, dependable binding.
The Sheepshank Knot
There’s a certain charm to having just the right length of rope where you need it, without fussing over cutting or hauling out extra slack. That’s where the sheepshank knot steps in—a clever way to temporarily shorten a rope by creating a neat, stable fold.
How to Tie the Sheepshank
Picture this: you take a rope and fold it to form three sections—a middle “bight” flanked by two ends. Then, fold the two outer sections back toward the center, creating two loops that hug the middle. By locking those loops with half hitches on each side, the rope holds its shortened shape, almost like tucking your sleeves to keep out of the way while working outside.
Here’s a simple rundown:
- Lay your rope out straight and find the section you want to shorten.
- Fold the rope back on itself twice to make those three even parts.
- Form two loops by folding the outer sections toward the middle.
- Secure each loop’s end with an overhand knot or a half hitch around the middle section.
- Tighten everything down—your rope is now shortened without a single cut.
Practical Uses
Imagine you’re pitching a tarp on a windy day, but the available rope feels a little too long, floppy, or awkward. Instead of pulling everything taut and risking slip or damage, the sheepshank lets you tidy up the slack neatly. Campers, sailors, and survivalists alike have leaned on this knot to adjust rope lengths on the fly—whether it’s shortening tent guy lines or managing lashings.
It’s especially handy when cutting rope isn’t an option, like when every inch counts, or when the rope is valuable and reusable. Plus, if your stretch of rope has a weak spot in the middle, a sheepshank can bypass it without tossing out the entire length.
Quick Facts and Safety Tips
This knot is a trusted companion in survival and outdoor circles, known for its quick application and no-harm, no-cut approach. But here’s the thing: the sheepshank isn’t made to carry heavy or critical loads long-term. Because it relies on friction and tension, it can slip if the rope isn’t taut or if jostled too much.
Always pair it with backup knots or additional lashings if you’re depending on it for more than a quick fix. Think of the sheepshank as a sturdy pause in your rope’s story—great for a while, but not the final chapter.
So next time you find your rope a bit too generous, give the sheepshank a try. It’s like folding a handkerchief in your pocket—simple, unpretentious, and ready to serve when you need it most.
The Granny Knot
If you’ve ever tried tying a square knot in a hurry and felt like something just didn’t sit right, there’s a good chance you ended up with a granny knot instead. It’s the knot that sneaks in when your hands don’t quite line up, and though it looks similar to the trusty square knot, it’s a different beast altogether.
How to Tie the Granny Knot
Start with two rope ends, just like for a square knot. Instead of crossing right over left, then left over right, both crossings end up going the same way—right over left twice or left over right twice. This subtle switch makes all the difference. The knot looks twisted and slightly off, with the loops not lying flat or symmetrical. It’s easy to tie by mistake, especially when you’re rushing or distracted.
Practical Uses and Pitfalls
Here’s the truth: the granny knot doesn’t have many practical uses in outdoor settings. It tends to slip and come undone under load. Imagine bundling firewood or tying up a tarp, only to find the knot loosening just when you need it to hold tight. That’s the granny knot’s signature flaw—weak security. Because it’s often an accidental result of trying to tie the square knot, it’s less a tool and more a warning sign to slow down and retie it properly.
Quick Facts and Comparison
The granny knot is frequently mistaken for both the square knot and the constrictor knot, but it’s less secure than either. Unlike the constrictor, which grips like an iron band, or the square knot, which holds firm when tied correctly, the granny knot is prone to slipping and can easily fail under tension. Outdoor stories and mishaps abound where this knot let people down—rope bundles came loose, gear shifted, and frustration grew.
So next time you’re tying two ropes together, take a moment to check your work. A granny knot is a knot that points to haste or inattention—easy to fix but important to catch. When it comes to safety, especially on the trail or at camp, it pays to let patience guide your fingers and keep your knots true.
The Trucker’s Hitch
There’s a certain satisfaction in tightening a tarp or securing a heavy load so snugly it won’t budge — that’s where the trucker’s hitch shines. Think of it as your trusty workhorse knot, built for muscle and control. The magic lies in creating a simple pulley system with your rope, giving you mechanical advantage to really cinch things down without breaking a sweat.
How to Tie the Trucker’s Hitch
Start by making a strong anchor point with a clove hitch or bowline on one end of your rope. Then, about halfway along your rope’s length, tie a small loop — a slip knot or a figure-eight on a bight works well here. This loop is your pulley. Pass the working end of the rope through this loop, then pull tight, pulling the rope back toward your anchor point. The clever part: the rope running through this loop multiplies your pulling power, making it easier to get a firm, tight hold. Finally, secure the tension by finishing with a half hitch or two around the standing end so it won’t slip back.
Practical Uses
Out on the road or deep in the woods, the trucker’s hitch keeps your gear in place. It’s the knot of choice for tightening down tarps over camping supplies, securing loads on a trailer, or even tying down firewood. Whenever you need your rope to do the heavy lifting — literally — this knot steps up, giving you the control to pull tight and stay safe.
Quick Facts and Importance
This knot cleverly combines the clove hitch’s secure hold with a built-in pulley system. That mechanical edge makes a big difference when you’re wrestling with bulky or heavy items. But a wise note: practice this knot until you can tie it smoothly and confidently, because it’s all about tension — and a loose trucker’s hitch defeats the whole purpose. Once you’ve got it down, you have a versatile knot that’s as rugged and reliable as any tool in your kit.
In the end, the trucker’s hitch is more than just rope — it’s a small piece of ingenuity that connects your hands to a world of tighter, safer rigs. So next time you’re out securing loads or shelter, give this knot a try — it’ll feel like a trusted companion, steady and strong.

Conclusion
As we wrap up, let’s take a quiet moment to reflect on the knots we’ve gathered around the campfire today. Each one—bowline, sheet bend, figure eight, clove hitch, square knot, constrictor, sheepshank, granny, and trucker’s hitch—holds its own place in the kit of any outdoor lover. Whether you’re securing a tarp against a sudden rain, joining ropes to span a gap, or just bundling firewood, these knots are your trusted companions. They work quietly but dependably, like a good pair of boots or a well-weathered hat.
Remember, no knot is just about the twist and pull; it’s about knowing when and where to use it safely. A knot tied in a rush or without care can turn a simple task into trouble, so take your time. Practice them when the sun is up and your feet are dry—before you need them in the thick of a trail or out on the water. Like any skill worth having, knot tying rewards patience and respect.
If you want to go deeper, plenty of guides and videos await you—each one a gentle teacher, ready to lead you along. So next time you’re packing your gear or setting up camp, take a moment to tie a knot with intention. It’s a small act, but it ties you to a long tradition of outdoor wisdom. And there’s something quietly satisfying in that—like the soft crunch of leaves underfoot on an autumn morning.
Here’s to steady hands, sure knots, and the peaceful trust that comes with being prepared.


-
 Jigsaw Puzzles
Majestic Unicorn Watercolor Puzzle 250 | 300 | 500 Brikker
Price range: kr 348,00 through kr 439,00 Select options This product has multiple variants. The options may be chosen on the product page -
 Jigsaw Puzzles
Lofoten Serenity: Abstract Puzzle 250 | 300 | 500 Pieces
Price range: kr 348,00 through kr 439,00 Select options This product has multiple variants. The options may be chosen on the product page -
 Jigsaw Puzzles
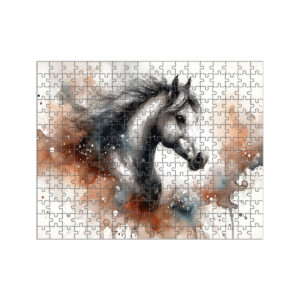
Majestic Horse Watercolor Jigsaw Puzzle 250 | 300 | 500 Pieces
Price range: kr 348,00 through kr 439,00 Select options This product has multiple variants. The options may be chosen on the product page
